Configure swift environment on Ubuntu server
iOS App 개발자로 4년이란 시간을 보내면서 여러가지 생각을 가지게 됐다.
그 중에 하나가 다른 분야(기획, 디자인, QA 등)뿐만 아니라 서버 개발자와 대화할 때도 그들의 언어로 생각하고 대화해야한다는 것이다.
그런 생각을 가지고 있던 중에 iOS App 개발을 위한 Swift라는 새로운 언어가 발표가 됐고 Open Source로 개발되기 시작했다.
Open Source 프로젝트로 개발되면서 다양한 Platform/OS에서 사용 가능하게 됐다.
그러기가 무섭게 Perfect, Kitura, zewo, vapor 등 서버개발을 위한 다양한 Web Framework이 만들어지고 발표되었다.
Perfect를 이용한 작은 backend system을 만들고 그 과정을 정리하려고 한다.
준비물
- Virtual Box에 설치된 Ubuntu Server 16.04 LTS
Virtual Box에서 Ubuntu Server의 네트워크 설정
Virtual Box에 Ubuntu를 설치하면 기본적으로 DHCP로 설정되어 있어 사용할 때마다 IP가 변경될 수 있어 고정 IP를 설정하려고 한다.
- Virtual Box의 설정에서 NAT Network과 Host-only Network 구성
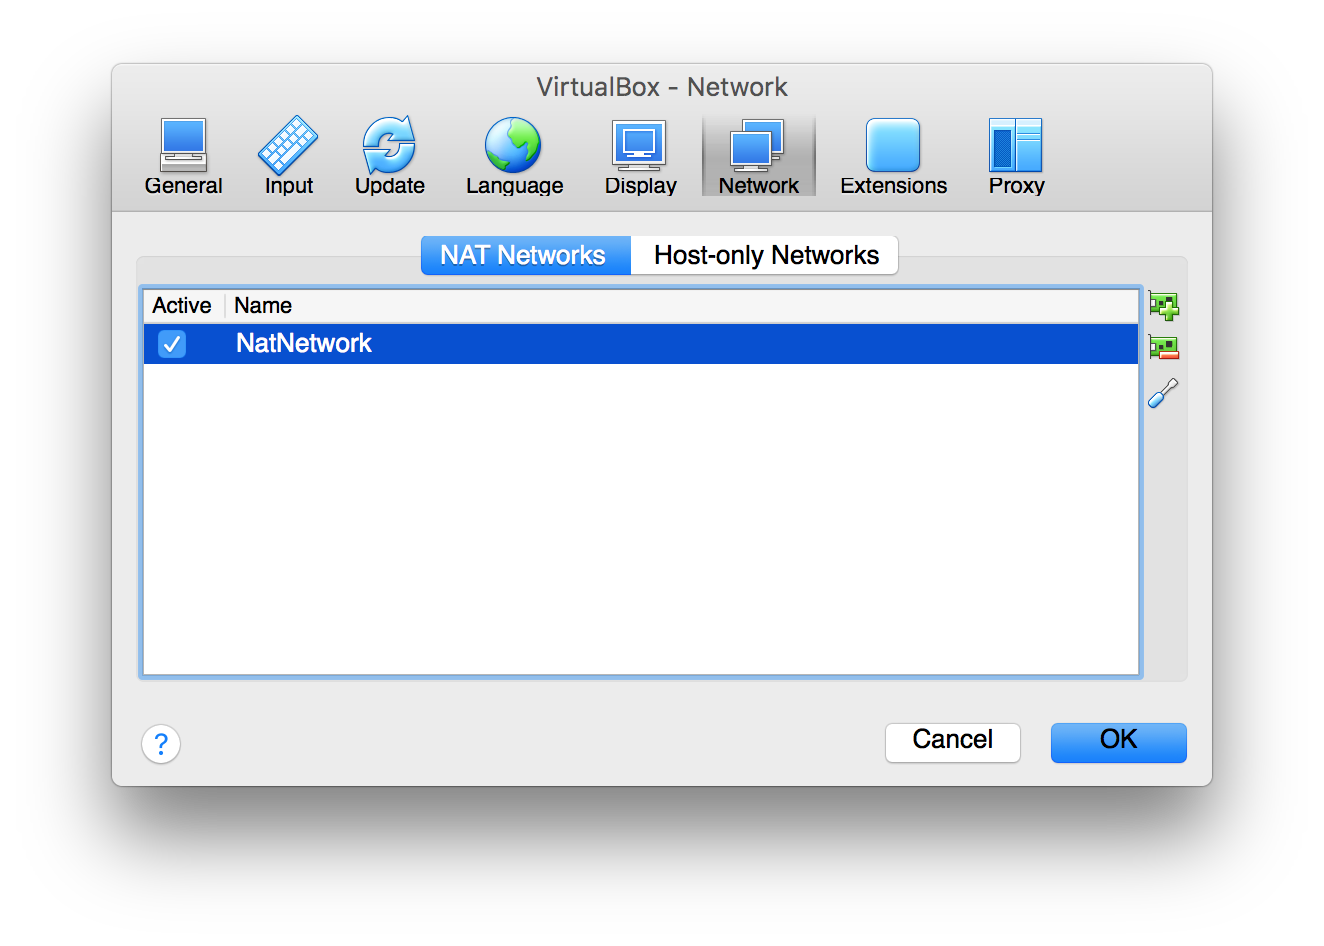
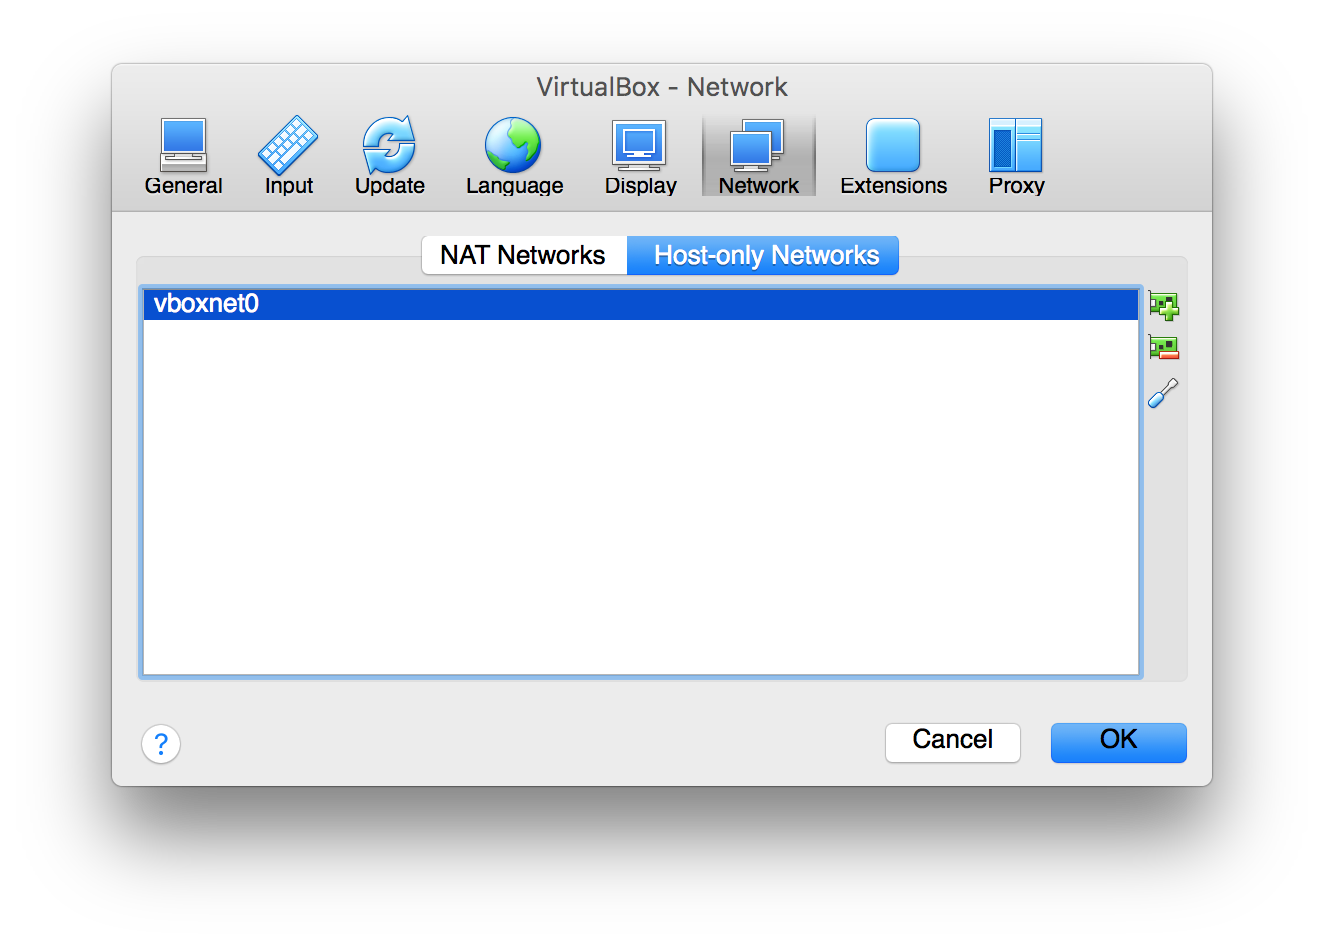
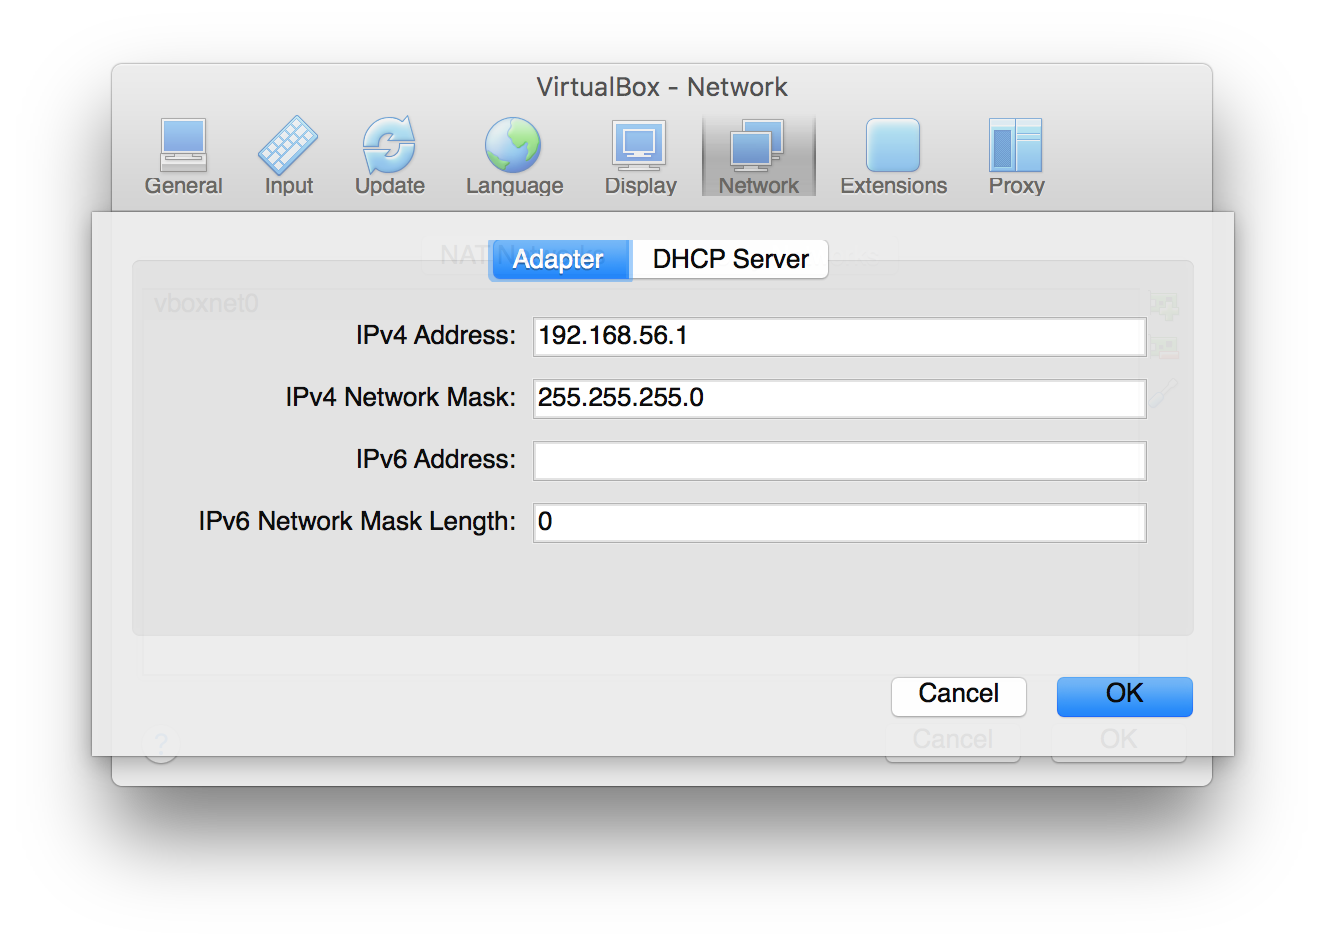
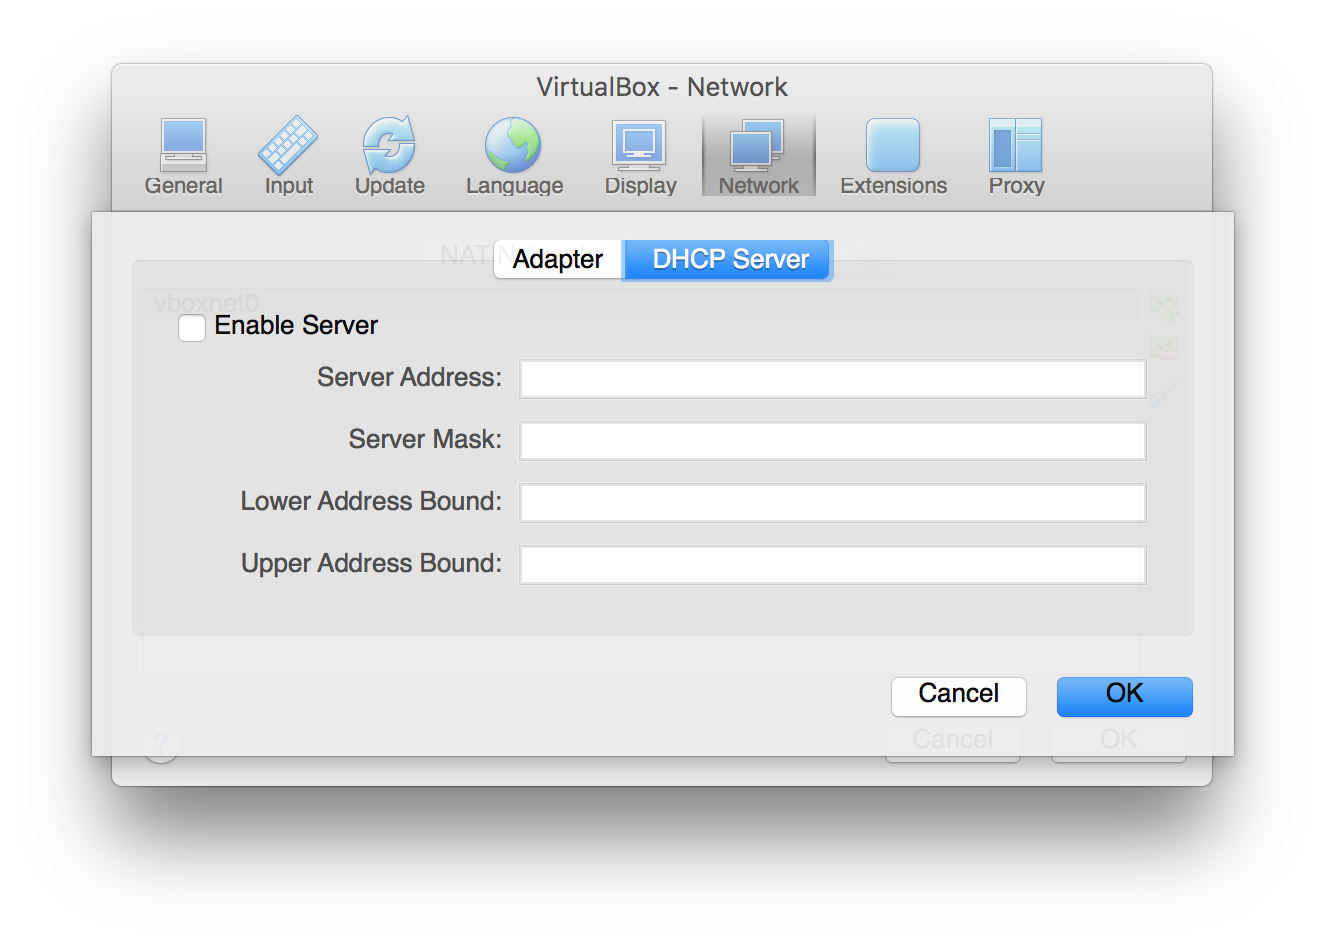
- Ubuntu Server의 설정에서 Network 설정
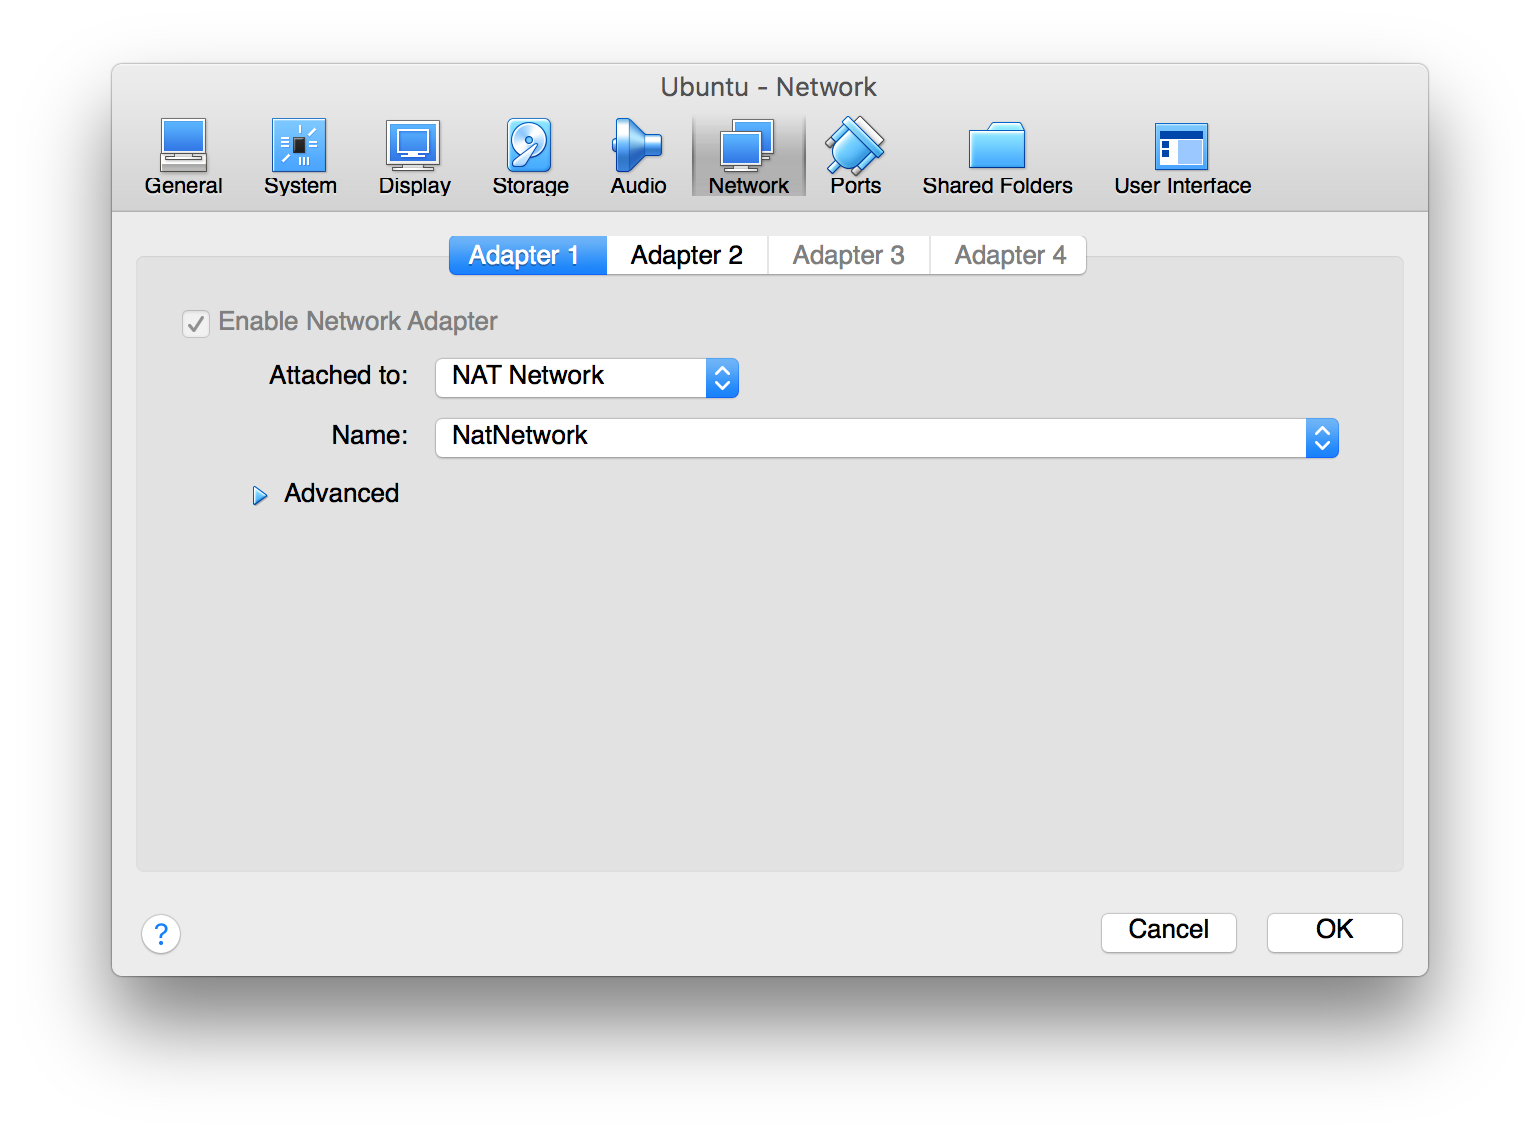
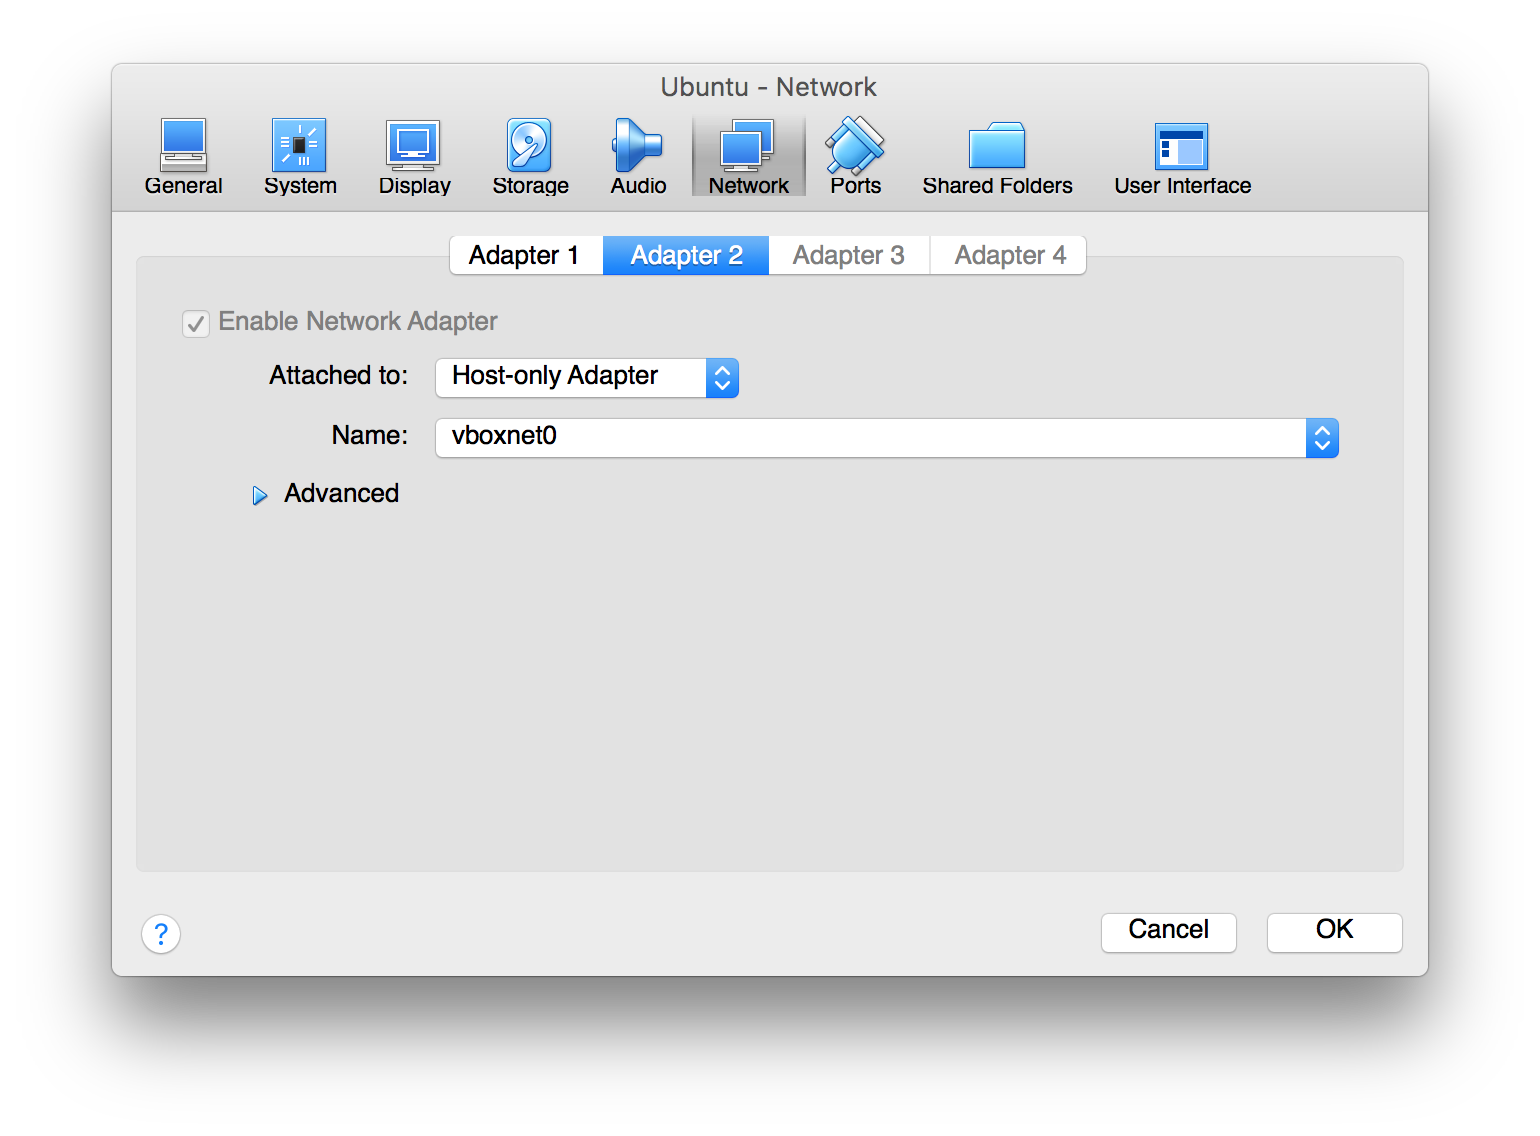
- Ubuntu 내에서 Network 정보 변경
# This file describes the network interfaces available on your system
# and how to activate them. For more information, see interfaces(5).

source /etc/network/interfaces.d/*

# The loopback network interface
auto lo
iface lo inet loopback

# The primary network interface
auto enp0s3
iface enp0s3 inet dhcp

# The host-only network interface
auto enp0s8
iface enp0s8 inet static
address 192.168.56.101
netmask 255.255.255.0
network 192.168.56.0
broadcast 192.168.56.255
Swift enviroment 구성
$ sudo apt-get install clang libicu-dev$ wget <#Swift Download URL#>$ tar xzf swift-<VERSION>-<PLATFORM>.tar.gz /<#Extract Path#>/swift.bash_profile에export PATH=/<#Extract Path#>/Swift/usr/bin:"${PATH}"$ swift --version
Note
Swift, Swift-Package 가 정상 동작하지 않고 libpython이나 libcurl을 설치하도록 유도하는 경우
$ sudo apt-get install libpython2.7-develop, libcurl3
hello world
Swift를 build하기 위한 기본적인 설치/구성이 다 되었으니 Hello world를 찍어보자.
먼저 프로젝트 폴더를 만들고 swift package manager를 이용하여 기본 템플릿 프로젝트를 만든 후 build하고 실행.
$ mkdir Hello$ cd Hello$ swift package init --type executable$ swift build$ .build/debug/Hello